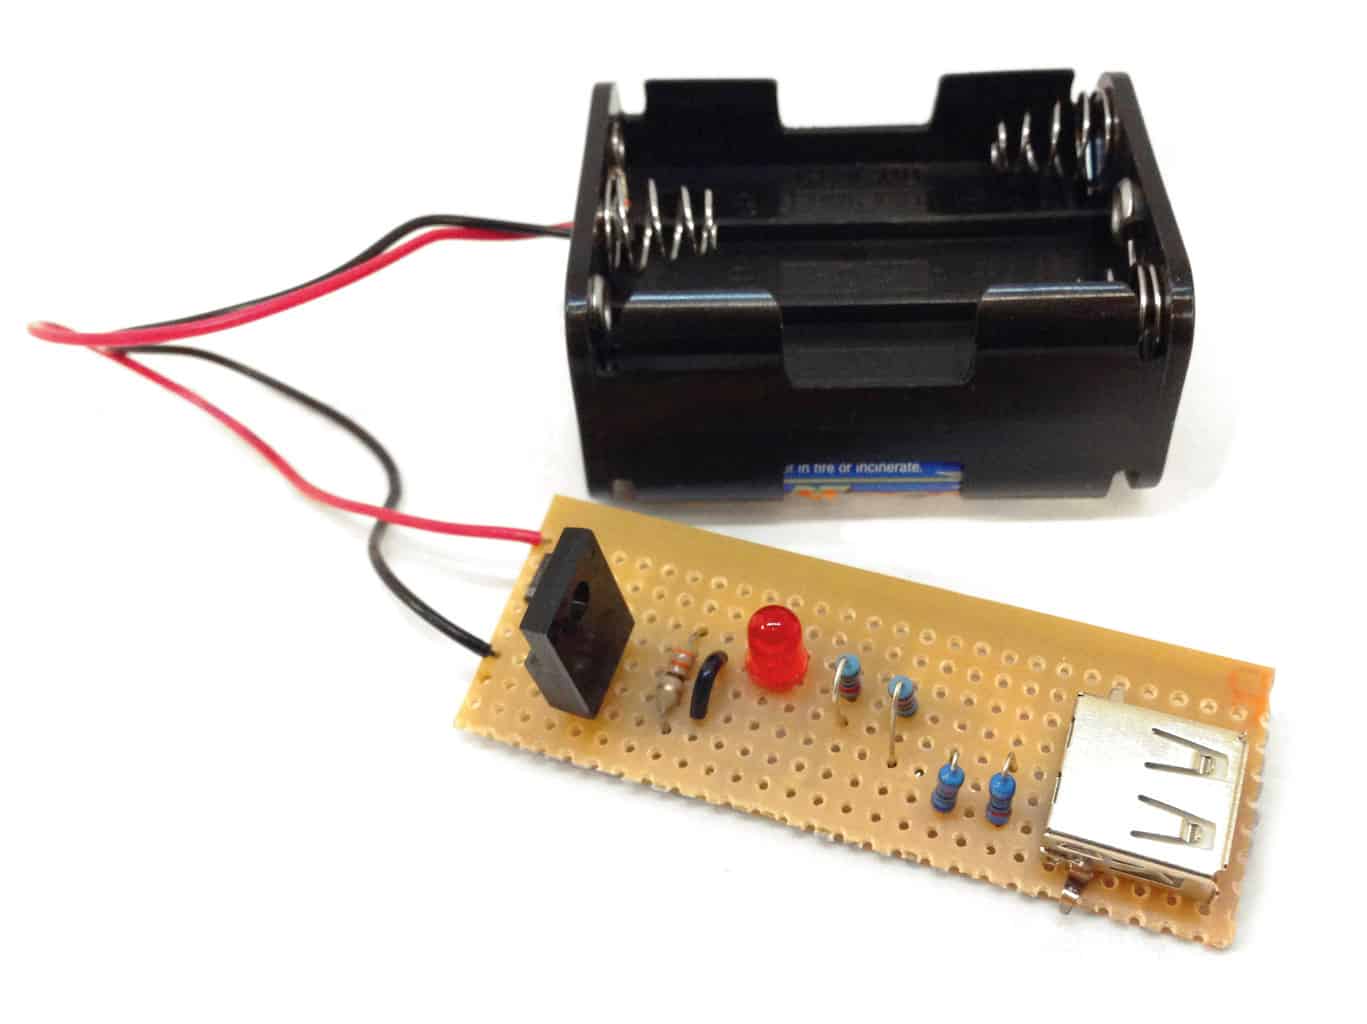
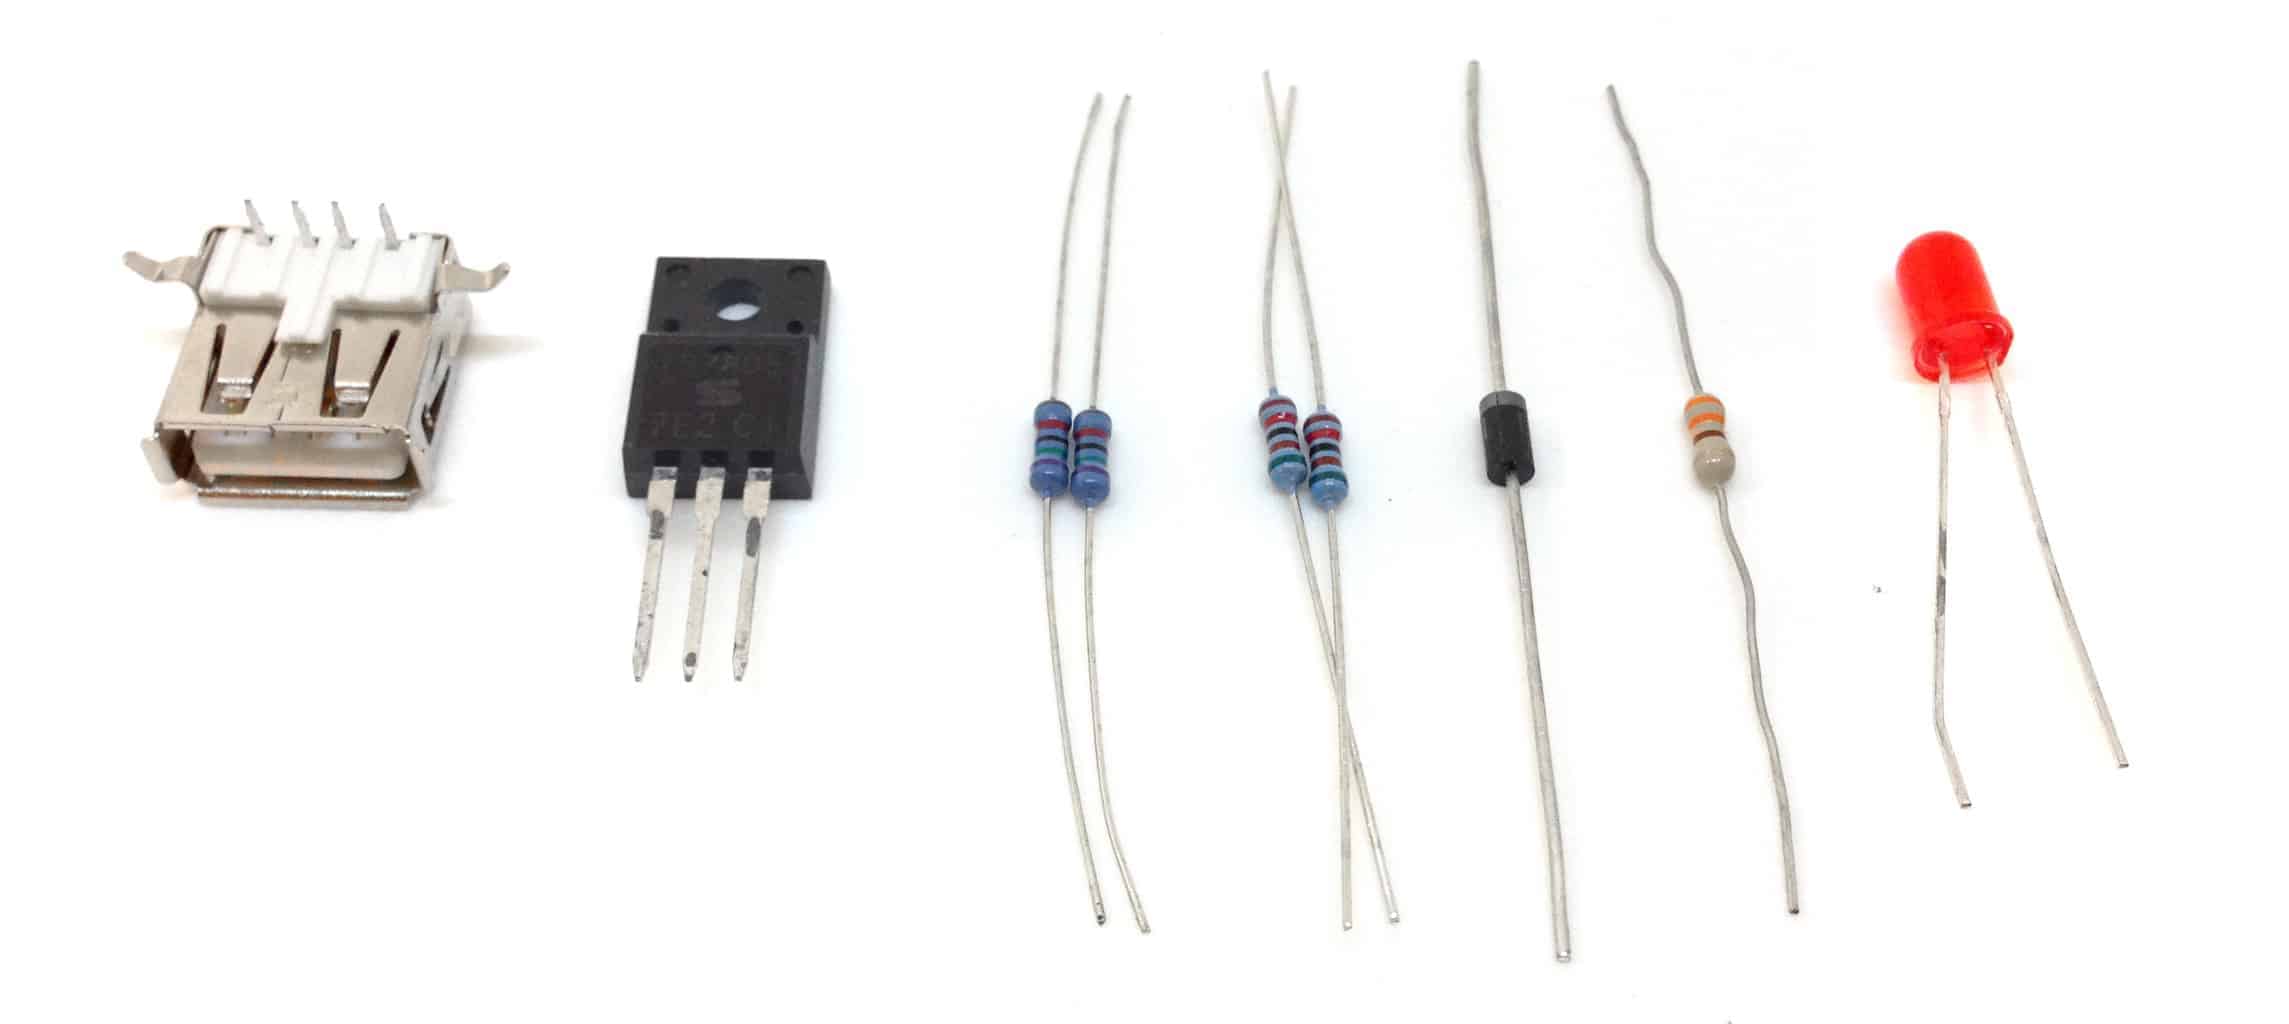
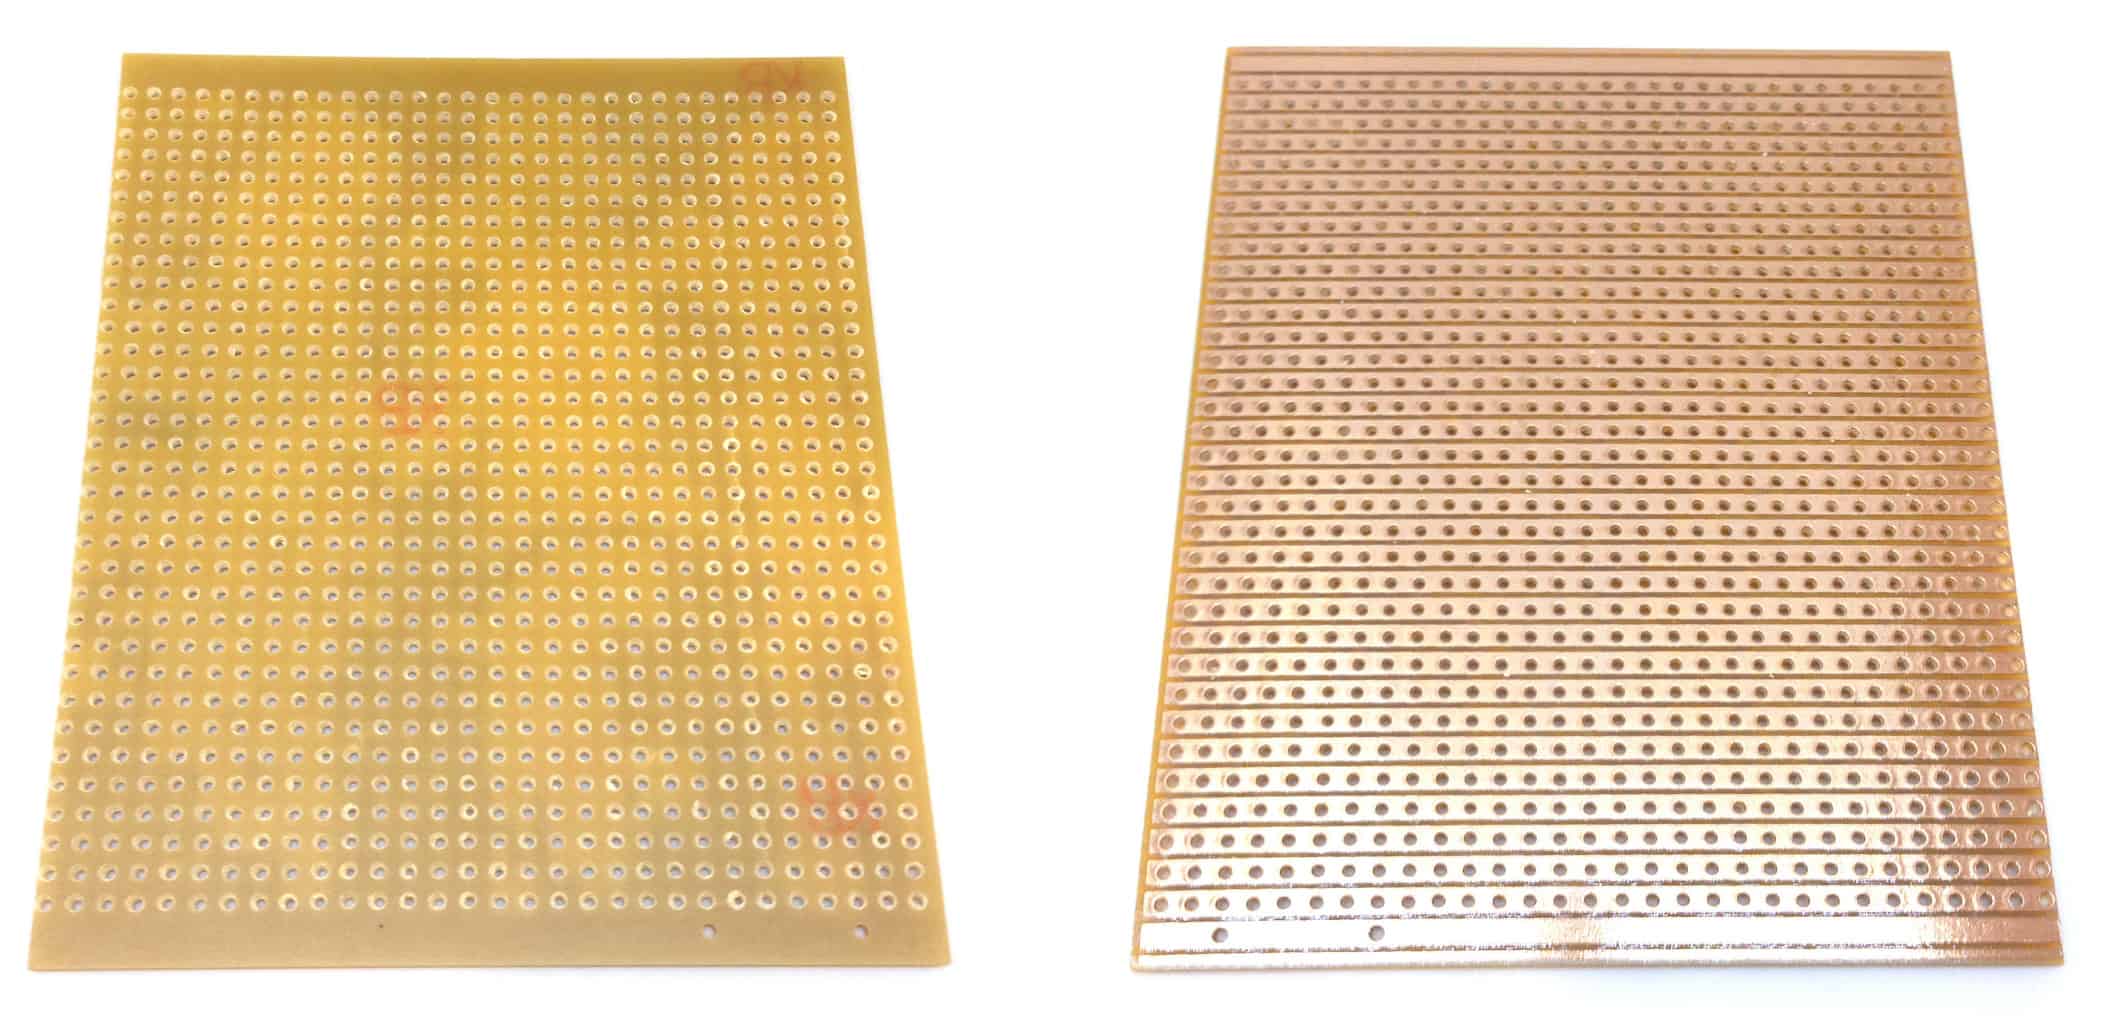
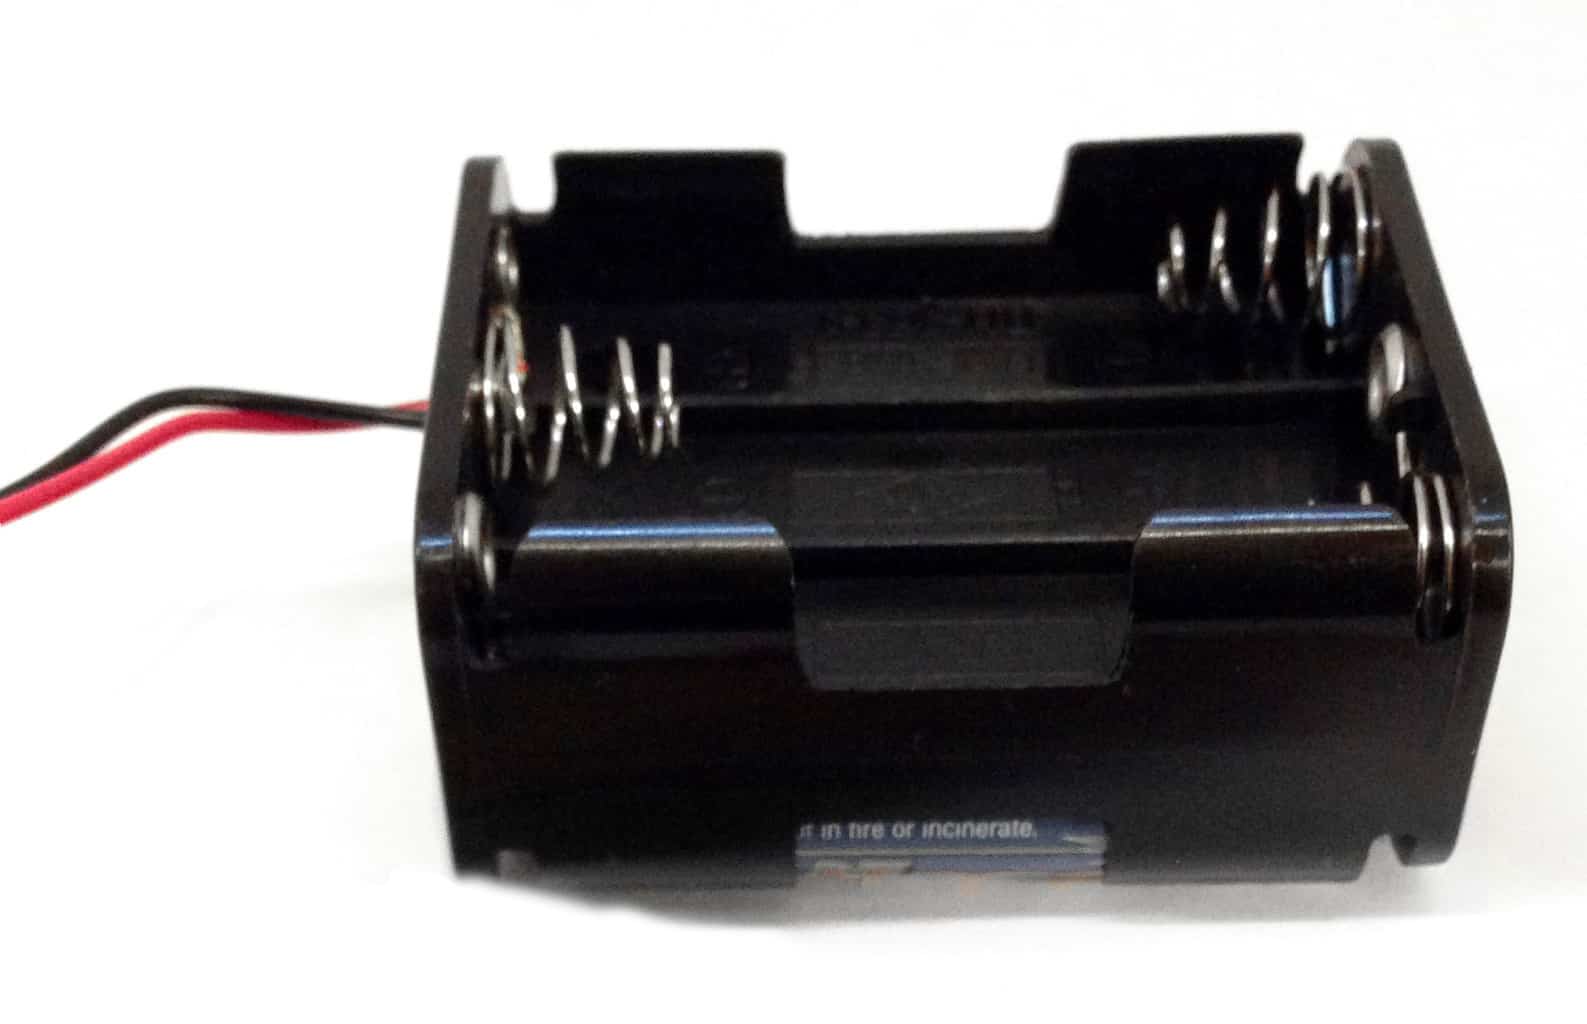
 These are the components you need for building the portable USB charger circuit.
These are all pretty standard components, so you can probably get these at your local electronics supplier if you have one.
If not, you can buy them at one of these online electronics shops.
Parts List
| Quantity | Component | Value |
|---|---|---|
| 1 | Voltage Regulator | LM7805 |
| 2 | Resistor | 75 kΩ |
| 2 | Resistor | 51 kΩ |
| 1 | Resistor | 330 Ω | 1 | Light-Emitting Diode | Standard Output | 1 | Rectifier Diode | 1N4001-4007 |
| 1 | USB Socket | Type A |
| 1 | Battery Connector | 6 x AA battery |
| 1 | Prototyping board | Stripboard |
Tools
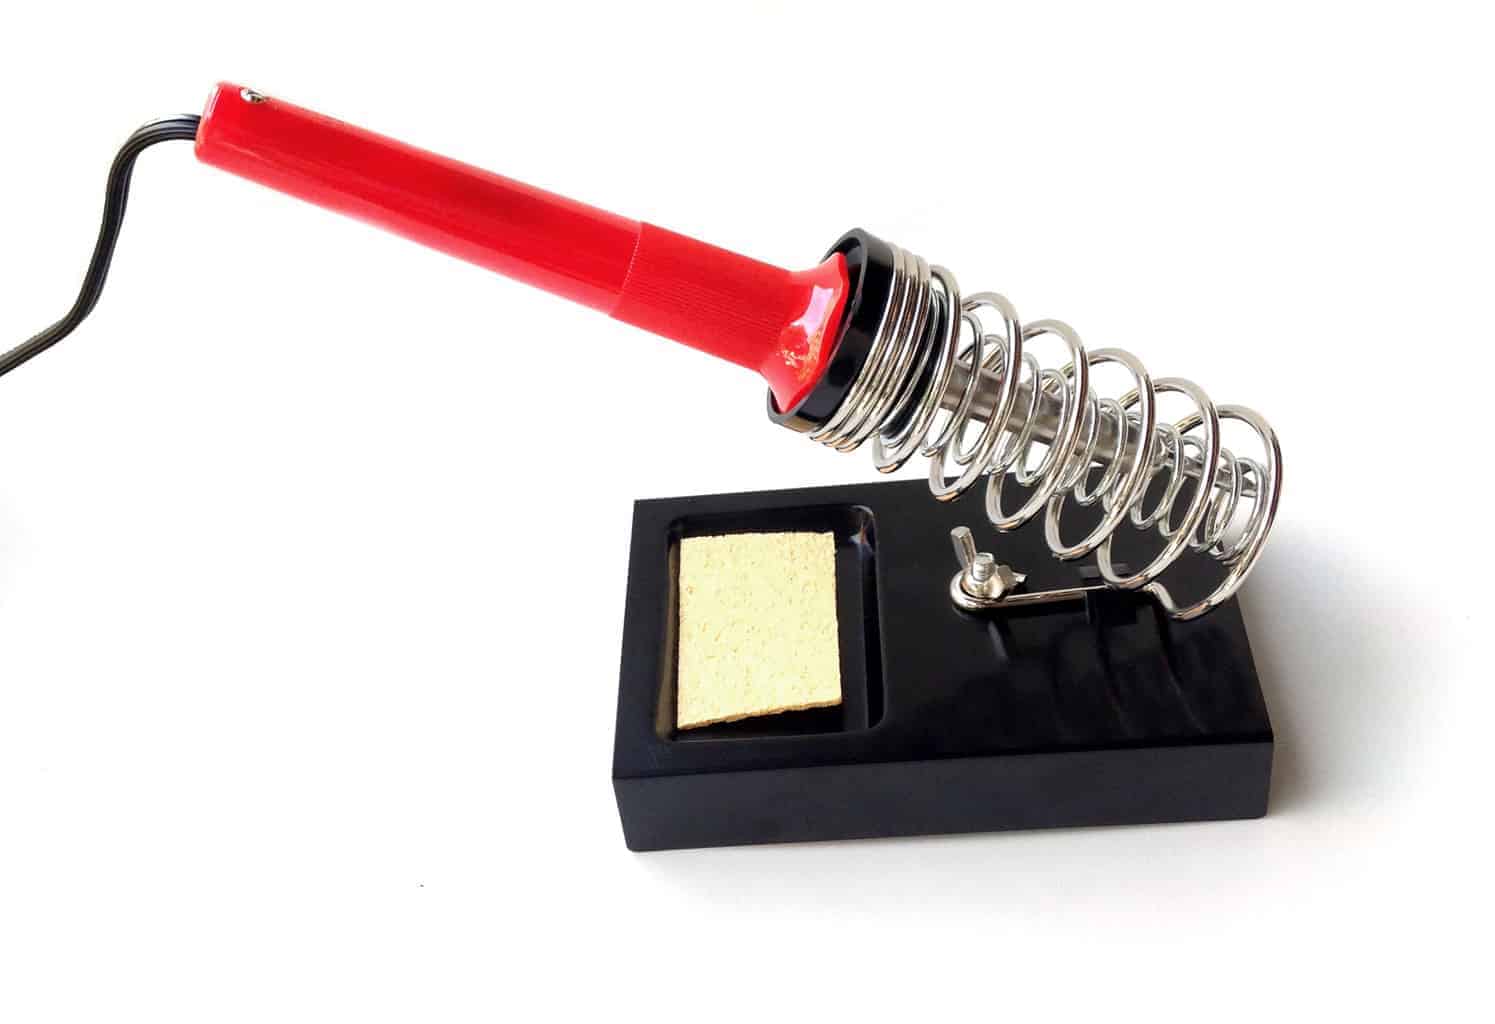
This project requires soldering. You don’t need a lot of tools to solder, but you’ll need a soldering iron. I you don’t have one, read my article on how to choose a soldering iron.
That’s the bare minimum. But there are a few other soldering tools that can make your life easier. Learn about the soldering tools I use here.

Build Something Useful This Evening
This gadget lets you use any IR remote-control to control your lamp, garden lights, heater oven, garage door, or anything else.
Optional Components
The following components aren’t required, but can be useful to improve your charger:

If you have problems finding any of the components for this project, let me know in the comment field below.
More Circuits & Projects Tutorials
Build Something Useful This Evening
This gadget lets you use any IR remote-control to control your lamp, garden lights, heater oven, garage door, or anything else.

