In this tutorial I will teach you how to build your own microcontroller circuit. This way, you can easily add microcontrollers to your own projects. We are now at part three of this tutorial.
In part one of the microcontroller tutorial, we looked at what a microcontroller is. We saw that a microcontroller is like a small computer, and that you can use it to build amazing things like cell phones or even your own handheld game-console.
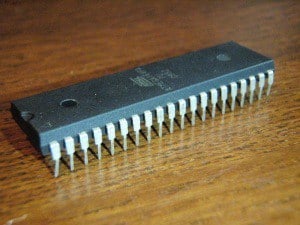
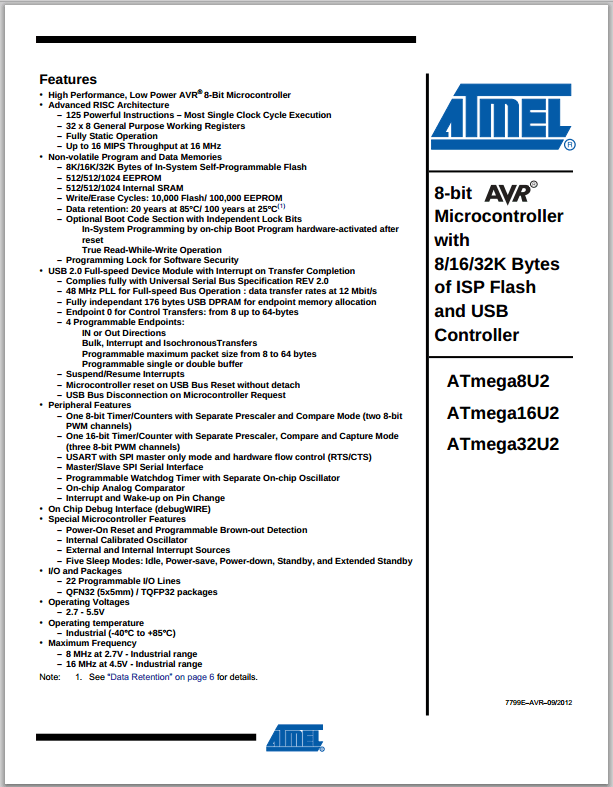
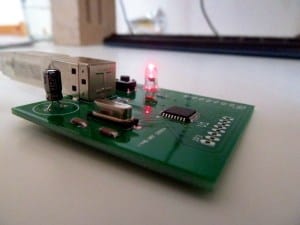
Then in part two, we looked at different types of microcontrollers, and we chose one for our purpose. We chose the ATmega32U2 because we can program it through USB and it is reasonably easy to solder at home.
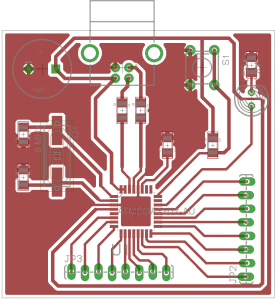
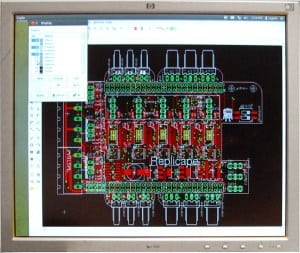
In this third part of the microcontroller tutorial, we are going to design our circuit from scratch. So we need to design a schematic diagram with all the components and connections necessary to make our circuit work.
Let’s build this thing!


 Let’s get ready to circuit board desiiiiiiiiign!