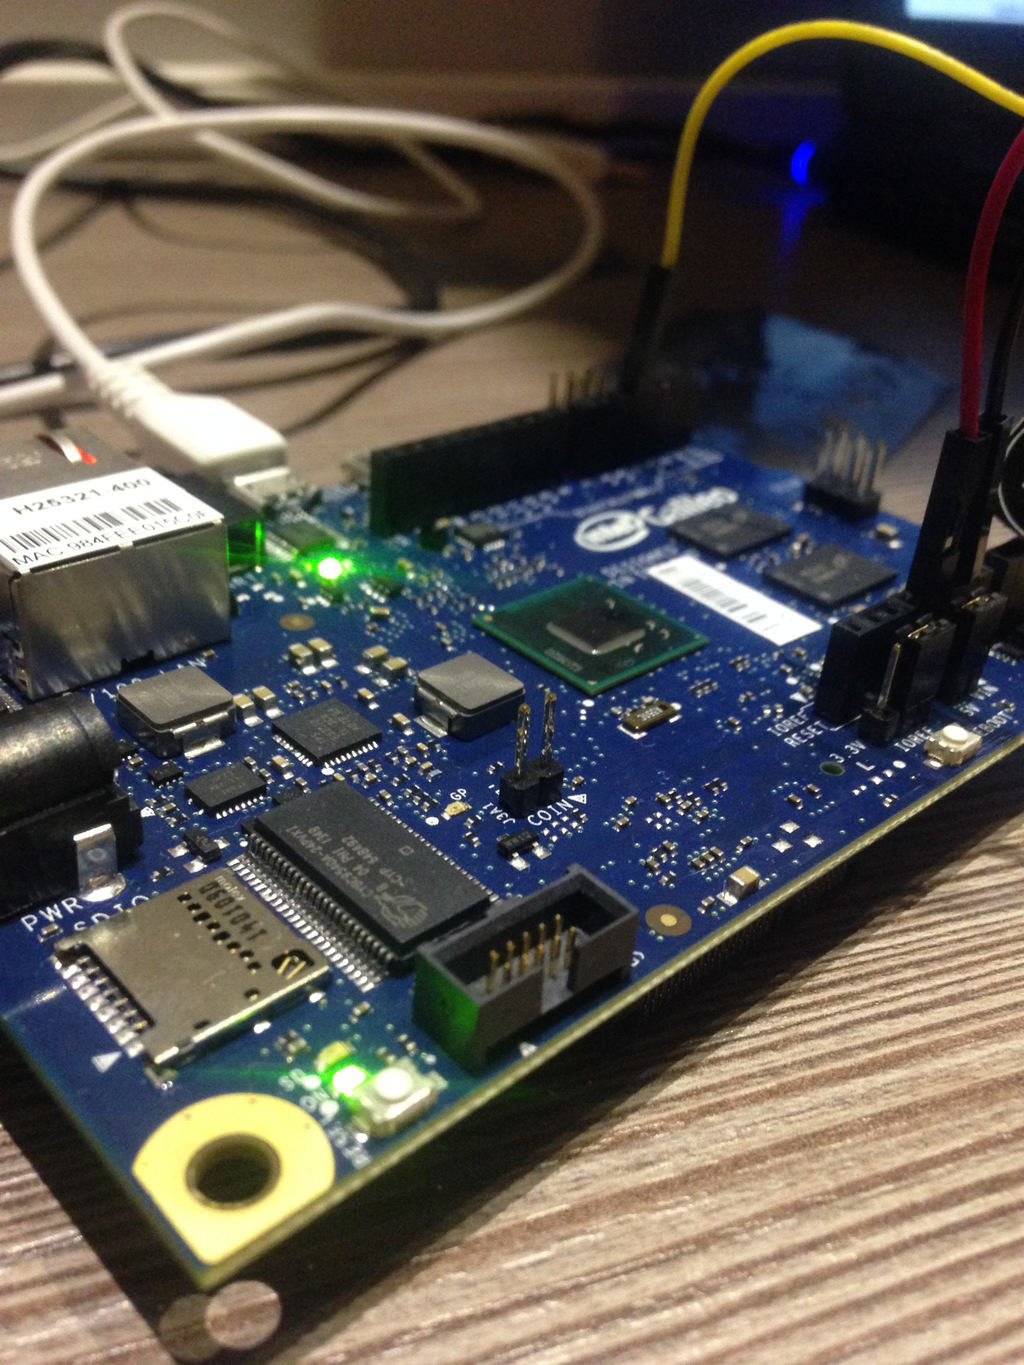
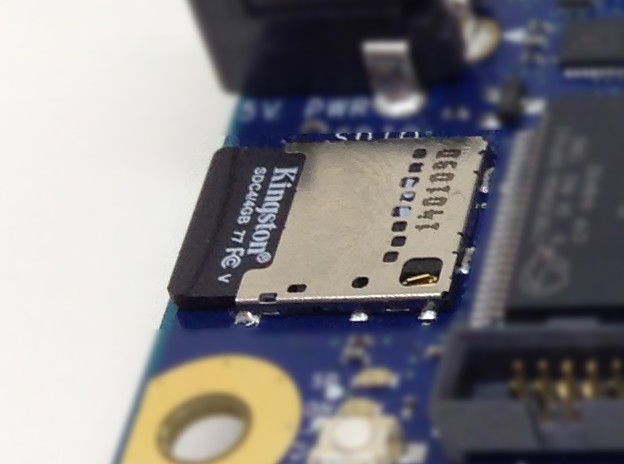
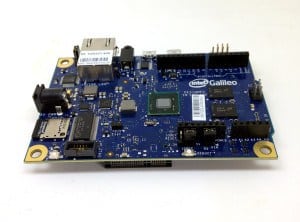
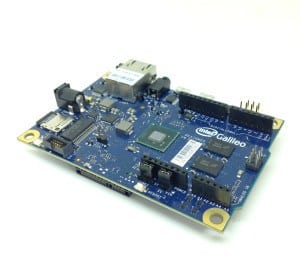
To get access to more interesting functionality, you need to boot Intel Galileo from an SD-card.
The on-board Linux version running on the Galileo is very limited. So to get access to things like WiFi communication (through Mini-PCIe), you need to install a proper Linux version on an SD-card.
This will also give you access to lots of other libraries, so that you can create programs for example in Python or Node.js.
Another advantage is that if you boot from an SD-card, the sketch you upload to the board does not get erased when you power off the board (as it does if you are using the on-board Linux).
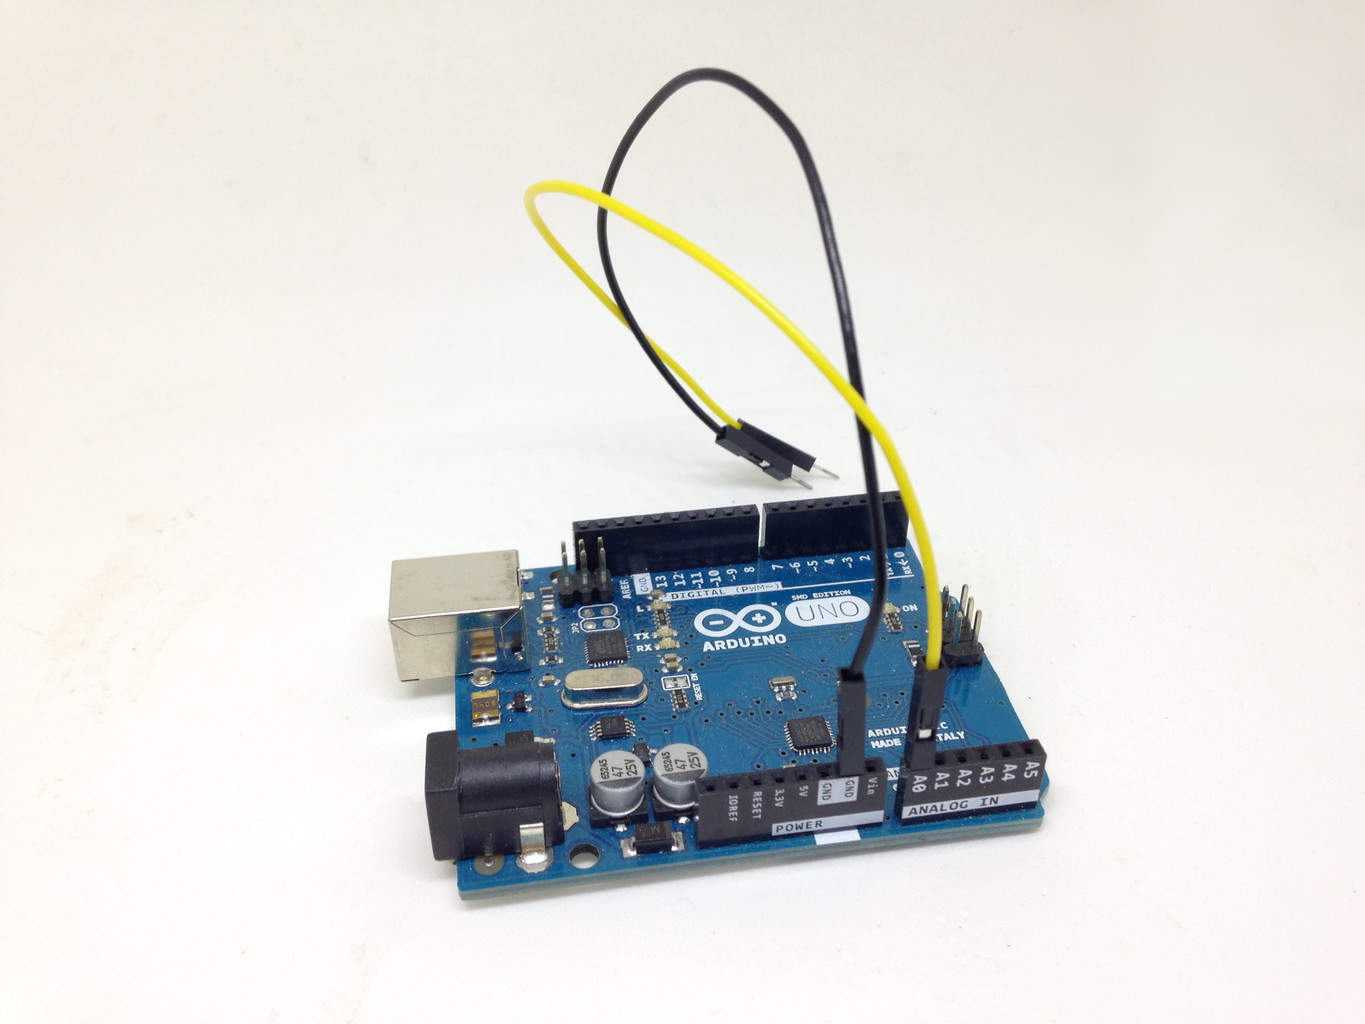
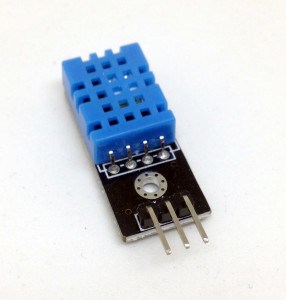
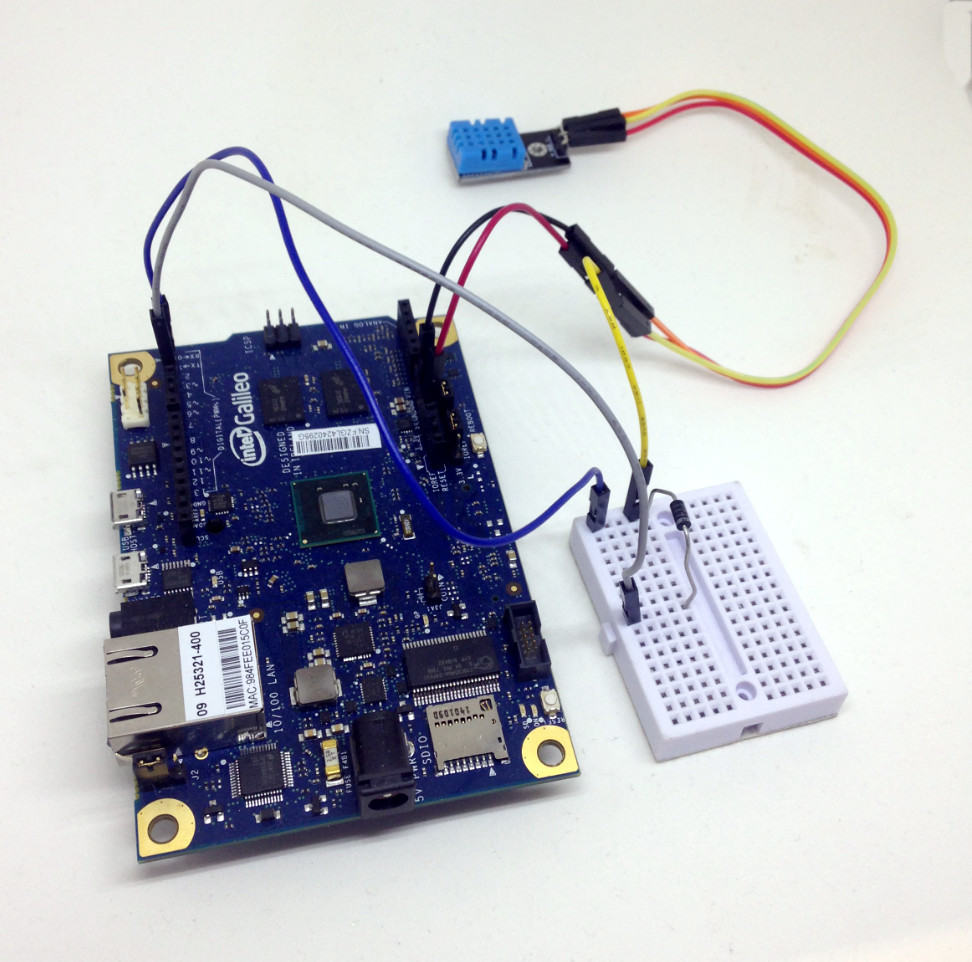
I wanted to try this, because I wanted to build a more advanced weather station than my simple weather station. When booting from an SD-card, I can easily create a web server that runs in the background. Then give easy access to sensor values from an external computer.
 Here’s a fun project.


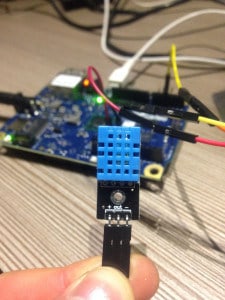
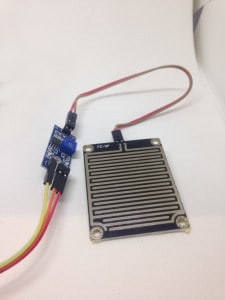
 In this tutorial I will show you how to install Whatsapp on your Intel Galileo. I’ll also show you how to read sensor data easily from your mobile phone through Whatsapp.