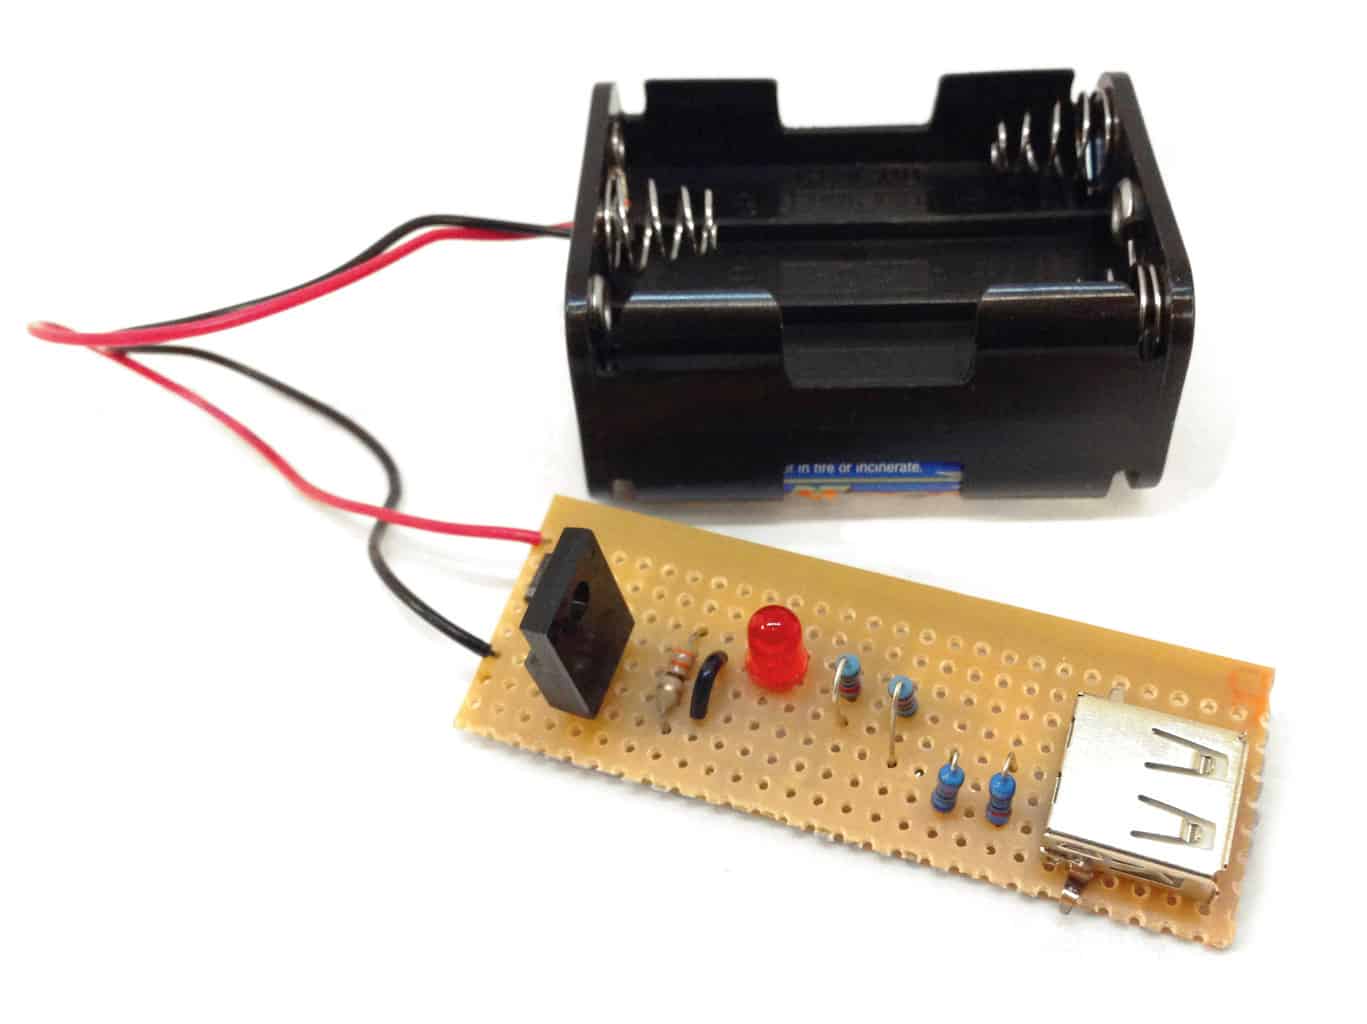
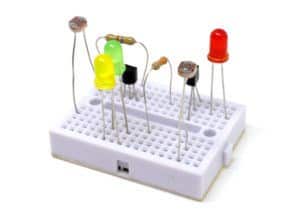
 These are the components you need for building the portable USB charger circuit.
These are all pretty standard components, so you can probably get these at your local electronics supplier if you have one.
These are the components you need for building the portable USB charger circuit.
These are all pretty standard components, so you can probably get these at your local electronics supplier if you have one.
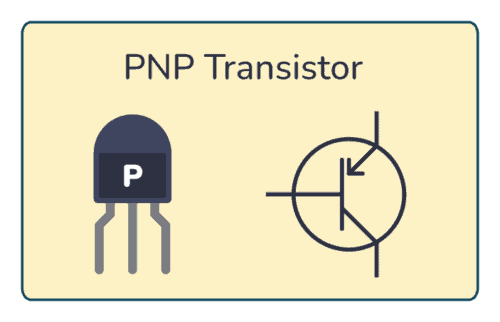
The PNP transistor was a mystery to me for a long time. But when I at some point was forced to learn it, I realized that it was pretty simple. And if you want to design circuits with transistors, it’s really worth knowing about this type of transistor.
For example, want to automatically turn on a light when it gets dark? The PNP transistor will make this easy for you. Let’s dive in!
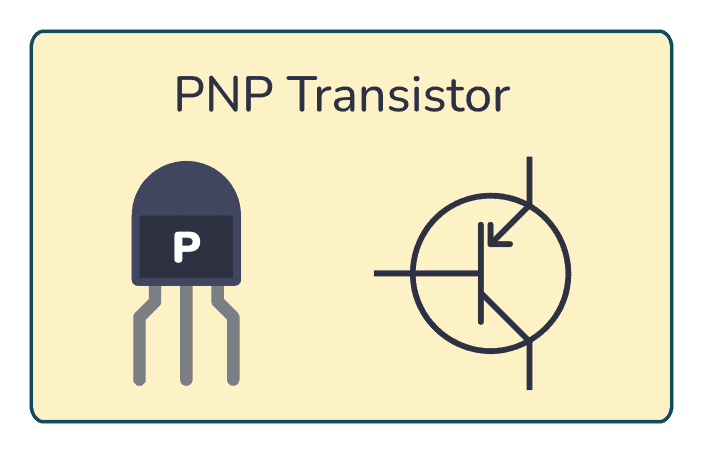
In my article how transistors work, I explained how a standard NPN transistor works. If you haven’t already, I’d really urge you to read that article first.
If you understand the NPN transistor, it will make it easier to understand the PNP transistor. They work pretty much in the same way, with one major difference: The currents in the PNP transistor flow in the opposite directions of the currents in the NPN transistor.
 What do you buy for Christmas for someone who’s interested in electronics? Check out these Christmas gift ideas and get the shopping over with.
Last year I received three boxes with a lot of resistors and capacitors from my family. And I absolutely loved it!
I guess a box of resistors and capacitors isn’t everyone’s cup of tea…
Instead, here are some Christmas gift ideas from me that I think every electronics-interested kid, adult or grandparent would love.

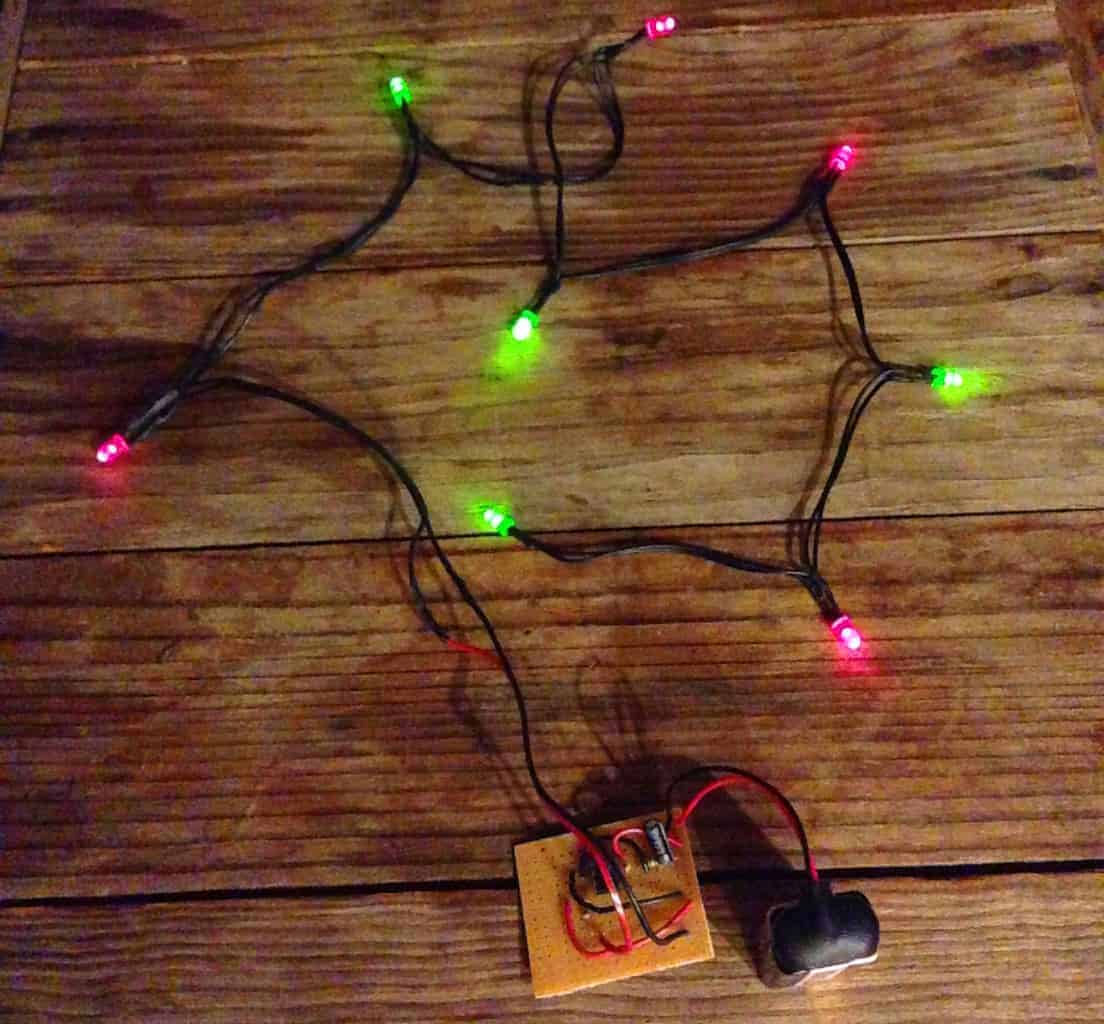
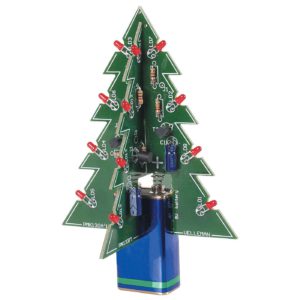
Christmas is coming up, so why not set aside an hour or two to build this blinking Christmas lights circuit?
This circuit is easy to build and it’s something you can put to use right away. I built this and hung it in the window, something my girlfriend loved!
The blinking part of the circuit is made up of only 4 components. Then you’ll add as many lights as you want.
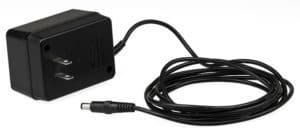 There’s some confusion going on when it comes to how to choose a power supply.
So, I thought I’d clear up some doubts, and give you a simple, beginner-friendly way of choosing a power supply.
Let’s start with the basics. A power supply has a voltage and a current specification:
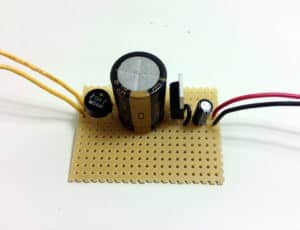
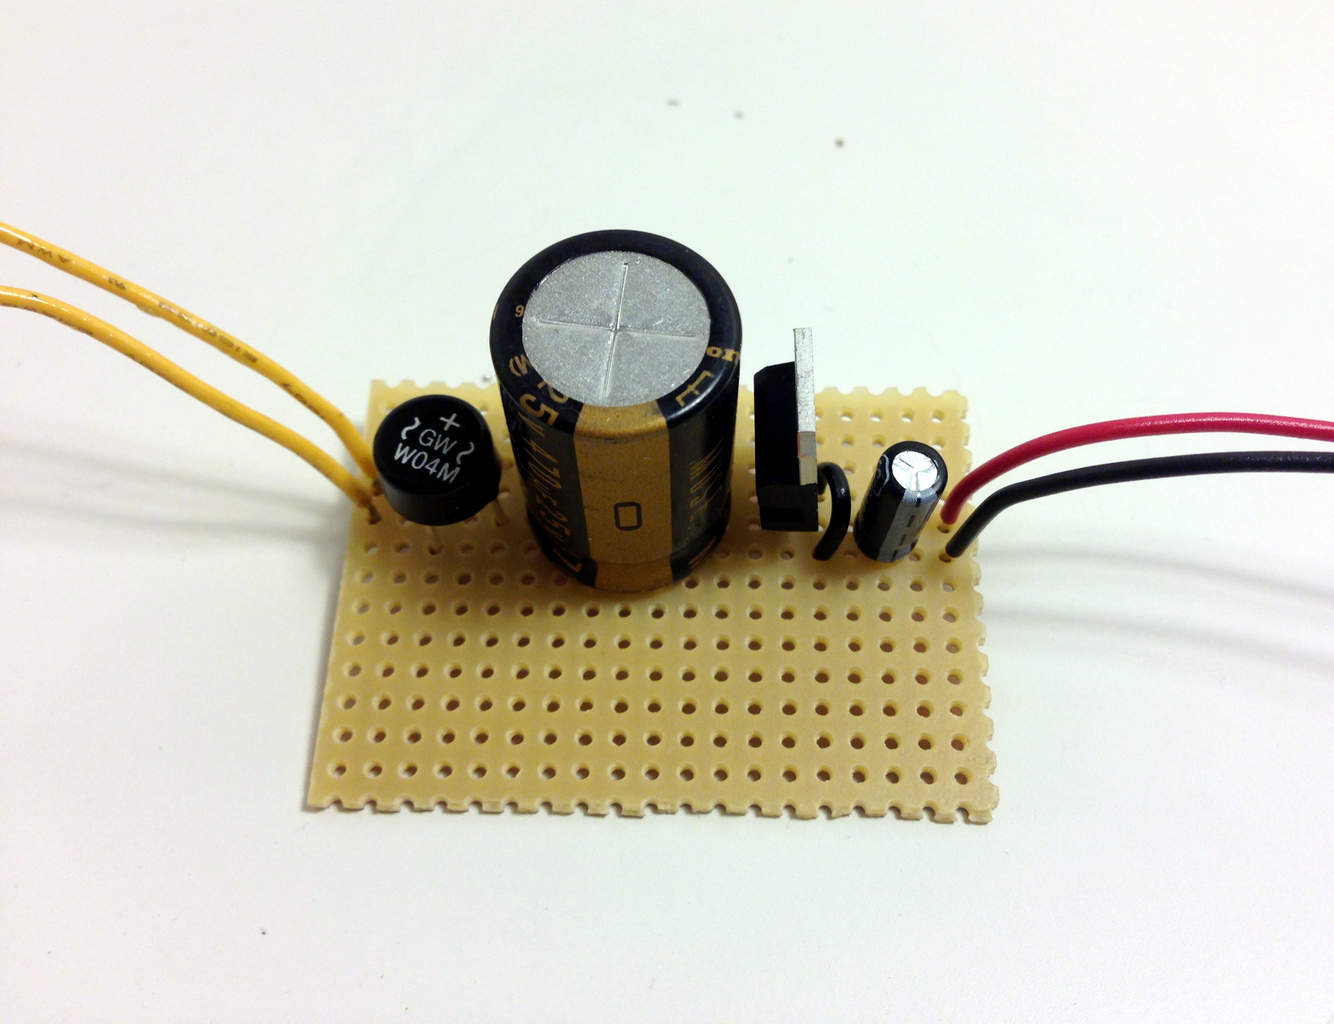
This power supply circuit is easy to build and cheap. And it requires only 5 components.
I have built many circuits in my life, but this is actually the first time I’ve built a power supply circuit from scratch.
The final project I wanted to build was a wall adapter with a USB socket to charge my iPhone. But first I wanted to start by creating a simple circuit that converts from the main power voltage, 220V or 110V, to 5V.
As I’m in Australia while writing this, and the voltage here is 220V, I built this with 220V in mind. But it’s very easy to convert to 110V instead by switching one connection (or one component).
Do you have an idea for an electronic product that you know will sell? Do you know how to create it?
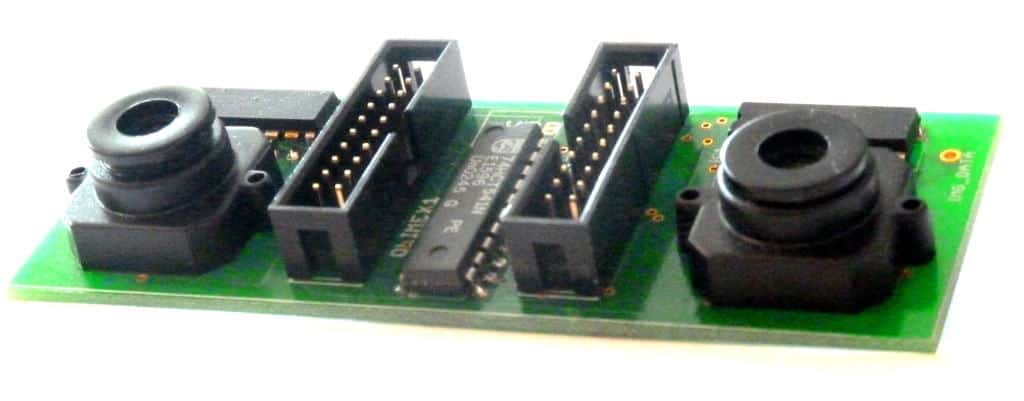
Back in the days, my friends Olav and Elias and I were certain that we had a revolutionary product idea. We wanted to develop a touch-less controller for games, so that you could play games with your body as the controller.
We had learned a lot about circuit design at the University, but had very little practical experience. And we had never developed an electronic product before.
So many things could go wrong…
Do you have a circuit that doesn’t work?
Do you feel you’ve done everything you could? You’ve reconnected the circuit 100 times, and it still doesn’t work?
You’ve put in so much effort, but still no reward…
How does that feel? Are you starting to feel like building electronic circuits might not be for you?
Don’t worry, I’ve been there.
And I have the solution for you.
The solution is being smart. It’s by not giving in to the feeling of giving up or the feeling of trying to work harder.
I started out writing this for myself as a reminder for next time. But then I figured, hey – maybe more people could benefit from this.

Do you have an idea for an electronics project that you want to build? Are you stuck because you don’t know how to start?
Well, then this is for you…
Whenever I take on a new project that is very different from anything I’ve ever done before, this happens:
Let’s say I want to build an RC model airplane (which is something I’ve never done before). The first automatic reaction in my brain is “But I don’t even know where to start!!!”.
When I was more inexperienced I often gave in to this first reaction. So, I postponed the project.
“Maybe next month” I told myself.
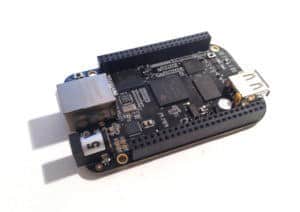
 The BeagleBone is a mini computer, in the size of a credit card. Very similar to a Raspberry Pi.
You can connect a mouse, a keyboard and a display – and you’ll have a fully functional computer.
But most people don’t buy it to use as a normal computer…
…so, what is BeagleBone aside from this?
There’s much more exciting things to make from it… Like:
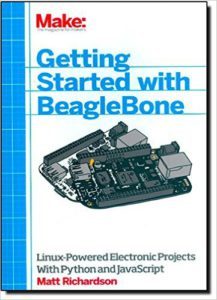
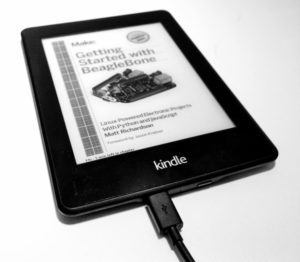
 I just finished reading Getting Started With Beaglebone by Matt Richardson.
I’m working on a coffee-related project where I need something more powerful than just the Arduino.
The BeagleBone with its HDMI-output and whatnot, is perfect! But I had only used it a little bit several years ago. So I needed a brush-up.
I didn’t want a “here is EVERY technical detail of the BeagleBone” type-of-book.
I know that I learn much faster if I start with an overview, then dig into details later on as I need them.
That’s why Getting Started With Beaglebone caught my eye.
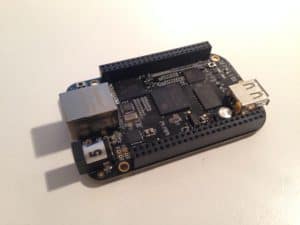

If you’re new to the BeagleBone, it can seem complex to get started. I’ve put together this BeagleBone Black getting started guide to help you over the first hurdle.
And as you’ll see, it’s really not that hard.
Confused? Check out What Is BeagleBone?
My intention with the BeagleBone Black now is to use it to develop electronics for a coffee-related project. With the BeagleBone, I can add a beautiful touch screen to the project, because it has HDMI output.
I have only barely tried the BeagleBone before, and that was a few years ago. So I’m writing this guide with a beginner’s mindset.
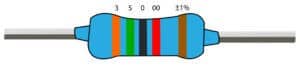
The resistor color code (color bands) on your resistor tells you what value the resistor has. There are usually 4 or 5 bands. Use our simple resistor color code calculator tool below to easily find the value of any resistor.
The color bands on your resistor tells you what value the resistor has. Click on a color band below to change its color and the value and tolerance will automatically update to the correct value.
Experiment with the tool above by clicking on a color band to change its color. Then see the resulting value and tolerance. If you want to know what each color and resistor color band represents, check out the table below.
You can find the color bands and the values they represent in the table below:
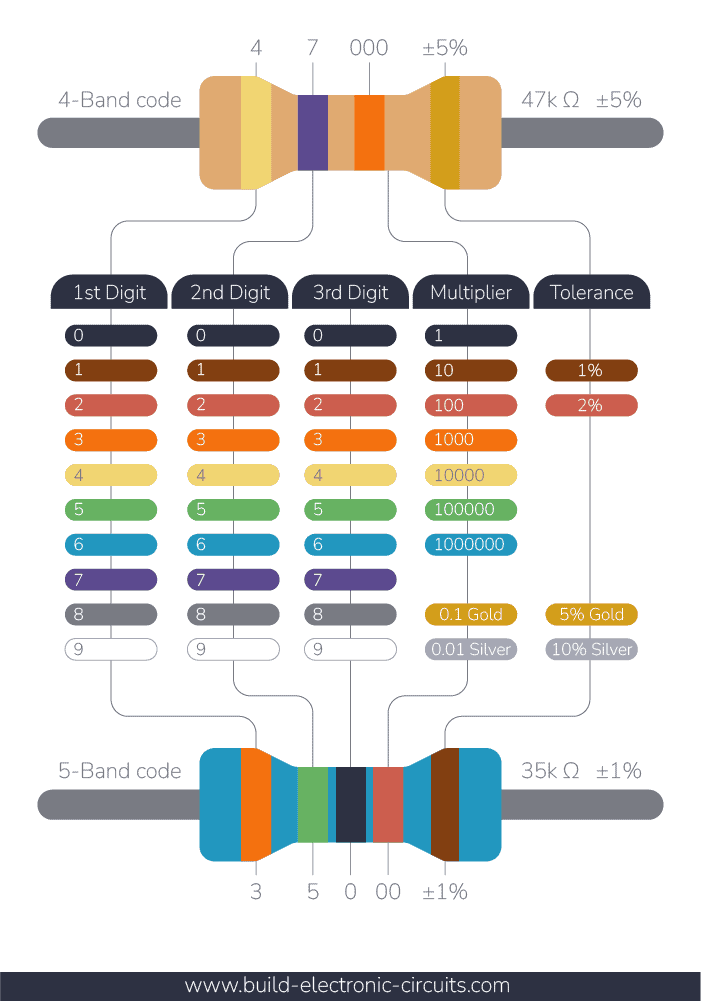
Further down this page, you’ll find examples of how to use the color table.
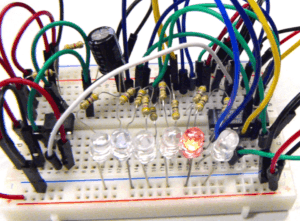
The Knight Rider light bar circuit creates a running light similar to the light bar on the car from the television show Knight Rider.
It’s a really fun circuit to build. I once built a larger version of this for the inside of a party bus I was a part of. Unfortunately, I broke it the first day because I increased the voltage too much, but that’s another story.
You can build this circuit if you’re a total beginner, but of course, it’s a bit easier if you have already built a few circuits before.
Electronics For Kids is the ultimate book for kids that want to learn how to build cool things with electronics.
I wrote it as the book I would have loved to have when growing up.
It’s suitable for all “kids” that are interested in electronics, even if you’re 8 or 100 years old.
The book is very hands-on, and you’ll get to build projects like a motor, a lemon-powered LED light, an electronic coin-tosser, a really cool LED reaction game, and much more.
It has been praised in several magazines such as The MagPi magazine (issue #50), the Wall Street Journal and Geekdad.
Electronics For Kids is available from: